
Hall's Bakery shares practical, down-to-earth guidance on home baking, artisan bread and cake recipes for readers across the UK.
- 0123456789
- Angle Bd Abdelmoumen & rue soumaya, Résidence
- [email protected]
Hall's Bakery shares practical, down-to-earth guidance on home baking, artisan bread and cake recipes for readers across the UK.
 By Oliver Pemberton
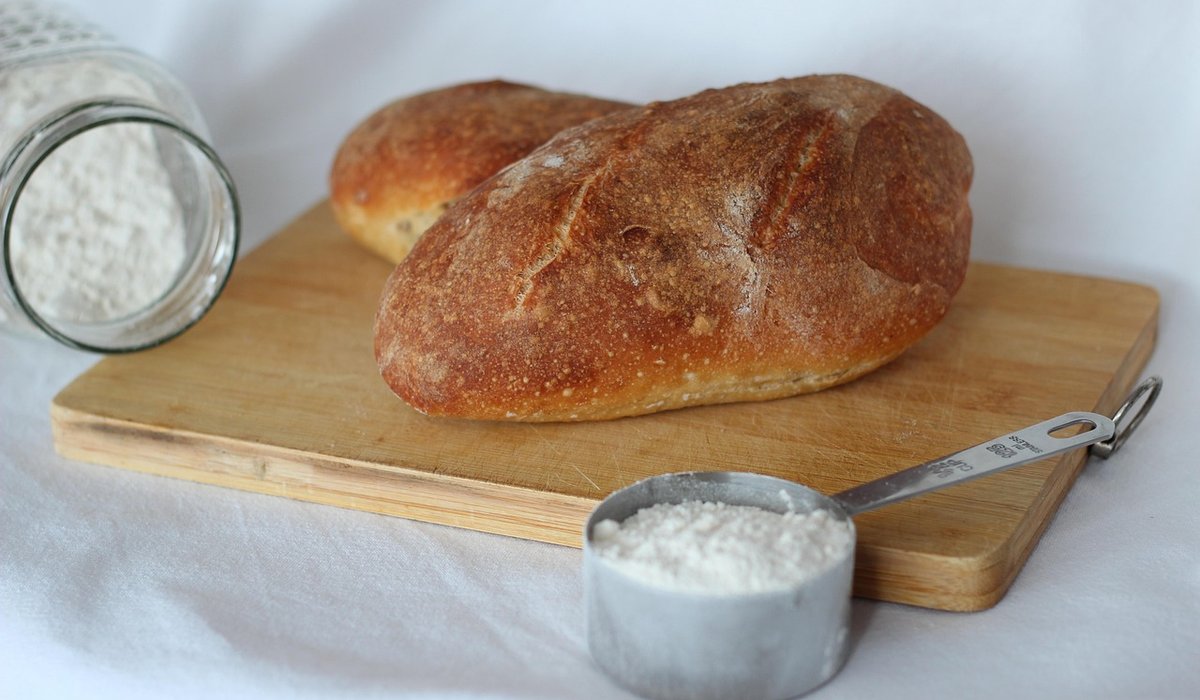
A sourdough starter is little more than flour and water left to their own devices, yet it is the beating heart of some of the finest bread you will ever bake. Once established, it will raise loaves, crumpets, pizza bases and even cakes, giving them a depth of flavour that commercial yeast simply cannot match. The best part? You can build one in your own kitchen from ingredients you almost certainly already have. All it asks for is patience and a little daily attention.
Think of the starter as a tiny, living farm. Wild yeasts and friendly bacteria from the flour and the air around you colonise the mixture, feeding on the sugars in the flour and producing carbon dioxide and gentle acids. Those bubbles lift your dough; those acids give it that lovely tang. Your job is simply to keep the colony fed and happy.
That is genuinely everything. No fancy equipment, no secret powders, no need to buy a starter online.
Weigh 50g of flour into your jar and add 50g of water at room temperature. Stir vigorously with your spoon until you have a thick, smooth paste with no dry patches lurking at the bottom. Scrape down the sides of the jar, cover it loosely, and leave it somewhere warm — around 20–24°C is ideal. A kitchen worktop away from draughts is perfect; an airing cupboard is too warm and will encourage unwanted bacteria.
For the first two days there will be very little to see, and that is entirely normal. Do not panic and do not add anything to hurry it along.
From day two onwards, feed your starter once every 24 hours. Each time, discard all but 50g of the mixture (this keeps the jar from overflowing and prevents the acids building up too fast), then stir in 50g of fresh flour and 50g of water. The discard is important — it is not waste, though. Keep it in a tub in the fridge and use it for pancakes, scones and flatbreads.
Here is a rough timetable of what to expect:
Learning to judge your starter by eye and nose is the real skill here. A healthy, hungry starter smells of yoghurt, green apples or fresh beer. If a clear or brownish liquid forms on top — bakers call this hooch — your starter is simply hungry and telling you so. Pour it off or stir it back in and feed as normal.
The float test is a handy trick: drop a small spoonful of starter into a glass of water. If it floats, it is full of gas and ready to raise a loaf. If it sinks, give it another feed and try again later.
What you are aiming for is a reliable rhythm. Feed it in the evening, and by morning it should have risen to a domed peak and just begun to fall back. That is the moment of peak activity and the perfect time to mix your dough.
Once your starter is established, you have options. If you bake two or three times a week, keep it on the worktop and feed it daily. If you bake less often, store it in the fridge and feed it once a week; the cold slows the yeast right down, so it will happily wait for you.
Before baking, take it out of the fridge and give it two or three feeds over as many days at room temperature to wake it up properly. A neglected starter is rarely dead — a few warm feeds and it will come bubbling back to life. Give it a name if it helps you remember to feed it, and enjoy the quiet satisfaction of baking with something you grew yourself.


We are not gonna make spamming
