
Hall's Bakery shares practical, down-to-earth guidance on home baking, artisan bread and cake recipes for readers across the UK.
- 0123456789
- Angle Bd Abdelmoumen & rue soumaya, Résidence
- [email protected]
Hall's Bakery shares practical, down-to-earth guidance on home baking, artisan bread and cake recipes for readers across the UK.
 By Sophie Bramley
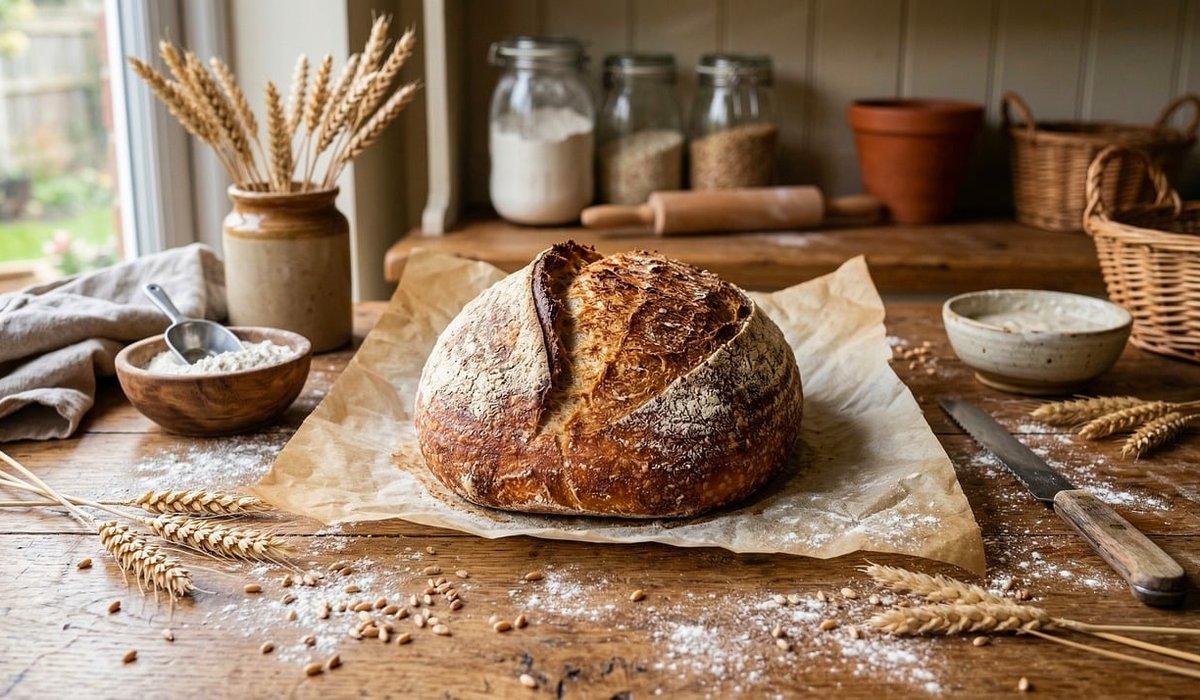
Home bakers tend to obsess over flour, starters and steam, then panic the moment a recipe says "prove for one hour" and the dough clearly has other ideas. Proving is not a fixed duration; it is a set of conditions that produce a result. Change the temperature of your kitchen, the wetness of your dough or the amount of yeast you stirred in, and one hour becomes forty minutes or three hours.
Get this right and everything downstream improves: better oven spring, a more open crumb, a crust that actually sings when it cools. Get it wrong and you will either bake an under-proved brick that tears at the base, or an over-proved puddle that collapses the moment it hits the heat.
Yeast is a living organism and it works on a fairly predictable curve. Doubling the dough temperature does not double the speed of fermentation — it roughly halves the proving time for every 8°C rise, up to the point where the yeast starts to struggle.
In a chilly British kitchen at 18°C, a standard white dough may need two to three hours for its first rise. At 24°C in summer, that same dough could be ready in an hour and a quarter. Neither is wrong; they are simply different.
A cheap digital thermometer plunged into the dough tells you more than any timer. If your dough reads 20°C, add twenty minutes to whatever the recipe claims and stop worrying.
Water is the medium through which yeast moves, feeds and multiplies. More water means faster fermentation — but also weaker structure holding everything together. This is why wet doughs feel lively and slack while stiff ones seem to sit there stubbornly.
A dough at 60% hydration (600g water to 1kg flour) will generally take longer to rise than one at 75%, even at the same temperature. But the wetter dough also has less gas-holding strength, so the window between "nicely proved" and "over-proved" is narrower.
Wholemeal and rye flours absorb more water and ferment more quickly than white, so a 70% wholemeal dough can behave like a wetter one. Adjust by feel, not by the number on the page.
New bakers often double the yeast when a loaf rises slowly. This is the wrong fix. Adding yeast speeds up fermentation but shortens the time available for flavour to develop, and it makes the dough far less predictable.
As a rough guide for a 1kg flour dough at around 22°C:
If your dough is dragging, check the temperature and the age of your yeast before you reach for the spoon. Old yeast loses vigour quietly, and a dough made with tired yeast will under-prove no matter how long you wait.
The most useful skill you can build is judging dough by feel. Forget exact times and look for these signals:
For a shaped final prove, the poke test is the one to trust. Under-proved dough tears at the base and springs back in the oven; over-proved dough slumps and bakes flat with a pale, blistered crust.
Your kitchen has its own climate, and it changes with the seasons. A few practical adjustments make proving far less stressful:
Judge the dough, not the clock, and your bread will reward you with a better rise, a deeper flavour and a crust you will be proud to tear into.


We are not gonna make spamming
